Before starting to remove paint from a ceiling, it is important to prepare the area you are working in. Ensure that all furniture is either moved out of the way or covered to protect it from any spills or splatters. Additionally, put on protective gear such as gloves and a face mask. Also, make sure any ventilation fans are turned on and windows are open to ensure enough air circulation. With all of the proper preparations completed, you can now begin the paint removal process.
How to get paint off a ceiling
To properly complete the paint removal process, there are certain tools and materials that are essential. Proper safety equipment should always be worn when handling potentially hazardous materials.
You will need a few items for the removal process:
-Paint stripper: Paint strippers are products designed to remove old paints and varnishes. They can come in gel, liquid or paste form, but must have an Environmental Protection Agency (EPA) registration number before use.
-Stripping brush: A wire brush used to scrub away paint or varnish after application of a stripping product.
-Safety glasses: Eye protection is necessary since paint fumes may affect your vision or cause irritation if inhaled directly.
-Respirator/dust mask: A dust mask is necessary because it’s important to protect your lungs from any dangerous fumes that may arise during the paint stripper application or sanding process.
-Clean rags: For cleaning up surfaces and wiping away dust particles or other debris that result from removing paint or varnish layers.
-Rubber gloves: To protect your hands from harsh chemicals when handling any kind of solvent, cleaning agent, stripper or water solution used to soften stubborn painted surfaces.
Ensure the area is well-ventilated
It is essential to take precautions when removing paint with chemicals, so that you are protected from dangerous fumes. Before beginning this process, make sure the room or area is well-ventilated by opening all of the windows and doors. You should also switch on fans to improve airflow, as this will reduce the concentration of harmful vapors in the room.
If possible, use a portable extractor fan – these suck any dust and fumes up into a vent in the wall or window so that they’re more easily disposed of, rather than lingering in the air. During this process it is best to wear protective clothing such as overalls, goggles and gloves to prevent exposure to hazardous ingredients within paint strippers/removers.
Cover any furniture and flooring
Before you begin any paint removal process, it is essential to protect any furniture and flooring from potential harm. Carefully cover furniture and flooring with plastic sheeting and painter’s tape to ensure no damage occurs during the paint removal process.
In addition to protecting furniture and floor surfaces, be sure that any electrical outlets have been taped off with plastic adhesive tape so as to not damage them or cause a hazardous situation for the user. Covering areas safely will not only prevent damage but help limit cleanup later. Moving furniture away from walls can also help keep dust and particles away from surfaces such as sofas or chairs.
Removing the Paint
Removing paint from a ceiling can seem like a challenging task, but with the right tools and technique, it can be a relatively easy process. Before attempting to remove the paint, you should ensure that you have all of the necessary safety equipment in order to properly protect yourself. The process involves scraping off the paint, sanding down the surface, and then cleaning the area. Let’s take a closer look at the paint removal process.
Test a small area with a chemical stripper
When applying a chemical paint stripper, always follow the manufacturer’s instructions on the packaging for safety and best results. Before applying to the entire area, test a small and inconspicuous spot first to ensure that you will be happy with the results.
Chemical paint strippers utilize caustic chemicals that can cause significant health risks if misused or abused. To avoid any skin contact, allergens, or inhalation hazards when using these products, wear protective eyewear, safety clothing including long pants, shirt with sleeves extending past elbows and closed toe shoes, rubber gloves and a dust mask/respirator suitable for fumes.
As you apply the chemical stripper to the surface of the paint you are removing, make sure it is evenly distributed and apply no more than 1/8 inch thick layer. Give it enough time to work its way into crevices and corners completely by leaving it on for at least 20 minutes or following manufacturer’s requirements before scraping or wiping off with a damp cloth or plastic scraper. After completing these steps for each area of your project surface that needs paint removal; use mineral spirits (following manufacturer’s label directions) in combination with medium grade steel wool to remove sludge created from stripping process before beginning the sanding process which should be done wet (to reduce hazardous dust). Lastly wash affected area thoroughly
with warm water utilizing an abrasive pad or brush compared to cloth because elevated suds might be needed if there are any residues left from the skimming process before glazing was started.
Apply the chemical stripper to the entire ceiling
Removing paint from a ceiling can be a daunting task — especially if you are unfamiliar with using chemical strippers. However, the process is relatively straightforward and can be completed in a few hours. Before starting, be sure to open any windows or doors for proper ventilation and wear protective clothing, glasses, and gloves to avoid any accidental contact with the chemical stripper.
Applying the Chemical Stripper:
Before applying the chemical stripper to the entire ceiling, it’s important that you test a small piece of wallboard or plasterboard in an inconspicuous place to ensure that it won’t react adversely. Once tested, use a limited-nap paint roller or a clean sponge to evenly spread the chemical stripper across the entire ceiling. Work in sections not larger than 4ft x 4ft ensuring all edges are completely covered with the stripper.
It typically takes 15-30 minutes for the chemical stripper to loosen and dissolve old emulsions and latex paints on your ceiling. After this time has elapsed, lightly scrape away at one of these sections of paint using either an old brush or plastic scraper— if it comes off easily then you know it’s ready for removal from other parts of your ceiling. Finish by wiping any excess paint with damp paper towels before proceeding onto another section of your ceiling.
Scrape off the paint with a putty knife
Scraping off the paint with a sharp putty knife is a popular choice to remove paint without causing potential damage to the underlying surface. It is important to choose an appropriate putty knife for this purpose, and more particularly, one that has a sharp blade. To safely remove it, use a scraping motion perpendicular to the painted surface. Be sure to hold the blade at an angle for best results.
Be careful when scraping; start slowly as excessive pressure might result in gouges or other unintentional damages on the wall or underlying material. Keep in mind that you may pass over a certain location multiple times before all of the paint is removed. Take special care around window panes and other delicate surfaces where hardness and strength vary greatly. Repeat passes may be necessary on some surfaces since these areas contain substantially different properties than smooth, uniformed surfaces such as concrete blocks and flat plaster walls. When there is only a small amount of old paint remaining, it may be possible to carefully whisk it away with a soft-bristled brush or light-duty vacuum cleaner attachment regardless of surface type.
Cleaning Up
Removing paint from a ceiling can be tricky, especially if you’re dealing with a stubborn layer of paint that’s been there for a while. While some people may opt to just paint over it, others may want to go through the paint removal process. In this guide, we’ll explain the steps you need to take to get paint off a ceiling in the most effective way.
Wipe down the ceiling with a clean cloth
Before applying any type of chemical paint remover to a ceiling, it is important to perform a basic wipe down of the area. Use a clean cloth or new paintbrush to remove any loose dirt, debris and dust particles. Ensure the wipe down covers all areas, including cracks in the ceiling, where a paint removal solution might be difficult to reach otherwise. This initial step helps limit the amount of dirt and grime that can mix with an abrasive cleaner. It also ensures that no glitter or other strangely shaped material finds its way into the product when you apply it. Once complete, move onto pre-treating any hard-to-remove areas with one of multiple types of chemical paint removers available at most hardware stores.
Vacuum up any dust or debris
With all the preparations complete, it’s now time to start the paint removal process itself. The first step is to vacuum up any dust or debris that may be in the area being worked on. Use a vacuum that has a HEPA filter, which can trap microns-sized particles like lead dust. Be sure to wear a face mask and use either an extension wand or brush attachment to make sure you are getting all of the dust and debris out of nooks and crannies. Once you’ve finished vacuuming, discard the vacuum bag or filter into a trash bag for proper disposal.
Apply a sealer to the ceiling
After testing the ceiling for lead and making any necessary preparations, it is time to apply a sealer. This step is important for any paint removal project because the sealer creates a protective barrier between hazardous materials such as lead, asbestos and other harmful particles. The sealer will also prevent dust from forming in the next step of the process.
The type of sealer and application technique used will depend on your specific project, so you should always follow manufacturer instructions closely and be sure to use compatible products for successful sealing. Keep an eye out for signs of bursting or blistering and allow plenty of time for drying in between coats. This part of the process could take anywhere from six hours to two days depending on your needs; be sure to stay up to date on local safety regulations while completing this step.
Finishing Touches
Once the paint has been fully removed, the last step is to make sure the surface is back to the original condition it was in before the paint was applied. This requires a bit of sanding and cleaning with a damp cloth to remove any remaining traces of paint. In some cases, you may need to apply a sealant to the ceiling to prevent future paint adhesion. Let’s take a closer look at the different ways you can finish the paint removal process.
Repair any damaged drywall
Once the paint is stripped, there’s still work to be done to get your walls ready for the new coat of paint. If you find any damaged drywall, now’s the time to repair it. Small holes can usually be patched with spackling paste or drywall compound. Larger holes over large areas may require a more professional approach.
In some cases, removing old paint also reveals small cracks in existing drywall. Usually these are cosmetic and can be sealed with an elastomeric sealant or an acrylic-latex formulation like caulk. Consider using a synthetic fiber joint tape instead of paper-backed tape on areas subject to moisture or mildew, such as tub surrounds and showers, because paper-backed tape can eventually break down and fail over time when exposed to water.
Finally sand down any uneven textures on your surface. This is one of those jobs that will make a significant difference; flaws and irregularities can stand out much more when you’re done painting than before you start. You don’t have to do this by hand – power sanders are available for rent at most home improvement stores – but it is important not to skip this step in order for your new finish to look its best!
Sand the ceiling to ensure a smooth finish
Once the paint has been removed, it is important to sand the ceiling to ensure a smooth finish. Sanding helps to create a uniform surface that will be easier for painting or other finishing touches. As always, make sure you wear appropriate safety gear when engaging in any sanding activity.
Sanding should begin with an 80-grit paper and move up to 120-grit paper, depending on your project. If the ceiling is highly irregular, you may need to use higher grits up to 180-grit or even finer depending on how smooth of a finish you want or need for your project. Regardless of the type of sheetrock used, it should be finished with 120-grit paper if possible.
Once the sanding is complete, the next step is to clean the ceiling well before applying paint or other finishes such as wallpaper or paneling. After cleaning, inspect and make repairs as needed—filling cracks and holes with spackle putty before painting. Lastly, prime (paint) the ceiling before applying any color coats; this will help ensure a better finish on your new wall or ceiling surface!
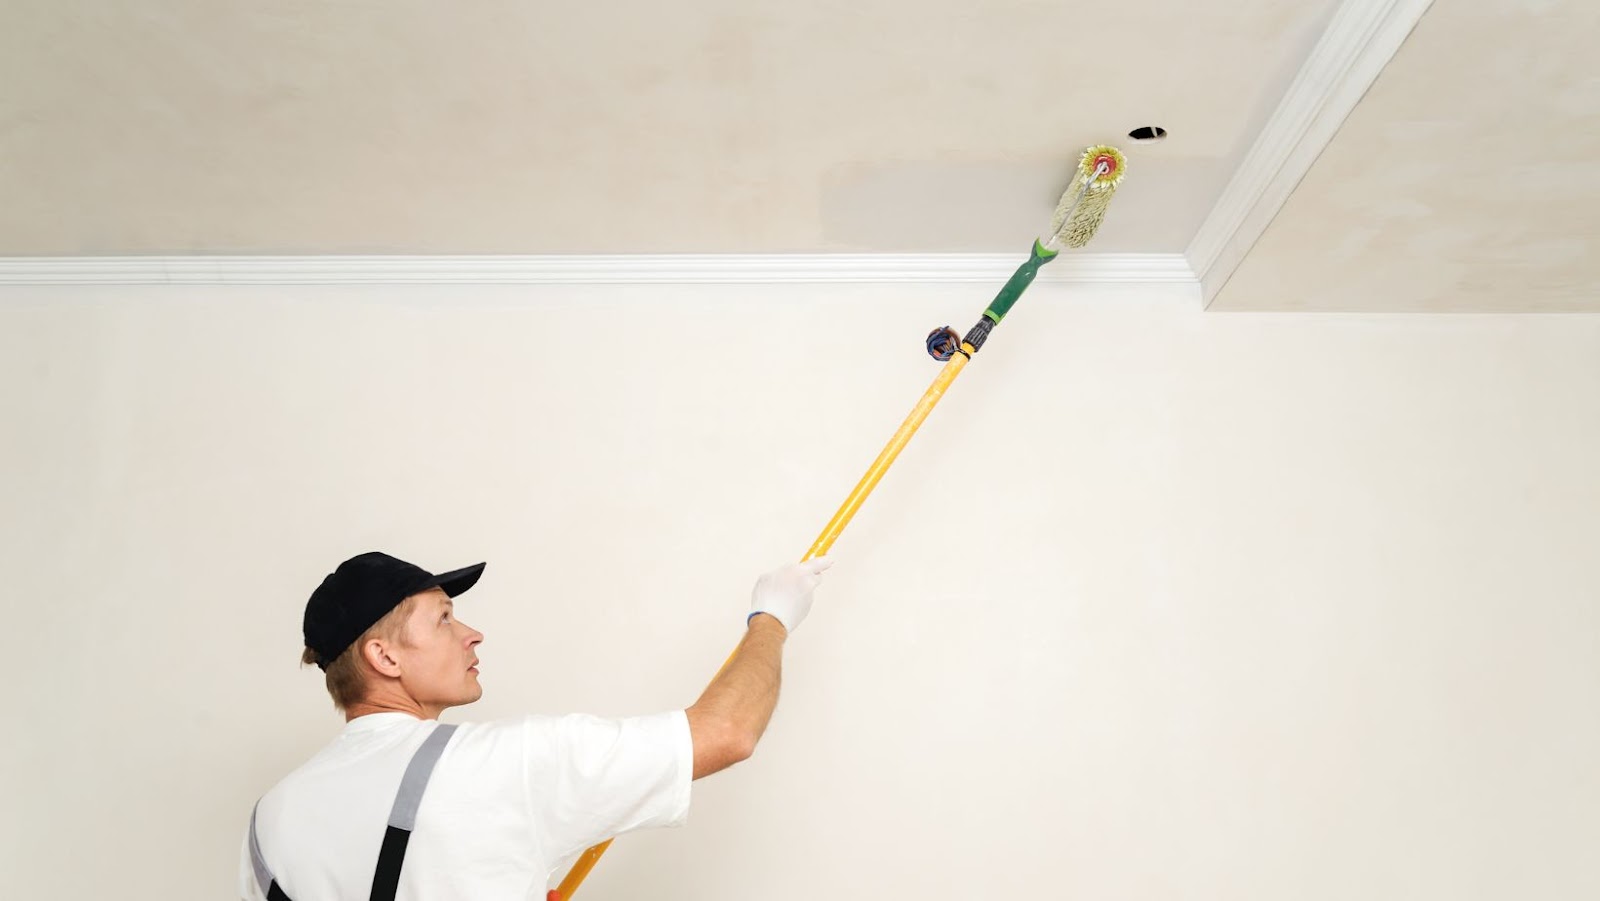
Apply a fresh coat of paint to the ceiling
Once you’ve finished removing the old paint from the ceiling, it’s time to apply a fresh coat of paint. Preparation is key for achieving a professional-looking finish. First, use a damp cloth or sponge to remove any dust that has accumulated on the surface of the ceiling. This will help the new coat of paint look its best and stick better to the ceiling.
Next, fill in any holes and cracks with filler, then sand them down so they are smooth and even. Primer will help protect your newly painted ceiling and provide a good base for your topcoat color. Start with an angled brush in hard-to-reach areas such as along the corners or near lights fixtures; this will give a nice even finish in those spots without having to get up on a ladder. Once you’ve brushed all those spots, switch over to rolling with a quality roller cover to get an even application over all surfaces of your ceiling. The roller should have enough nap so that it applies the paint smoothly yet resists too much dripping – 3/4” works well for most paints worn on ceilings.
Finally, don’t forget to do some touch ups around trims and corners before letting everything dry overnight! With these simple tips, applying paint to ceilings is now easier than ever!